Love this? Save it for later!
Share the inspiration with your friends
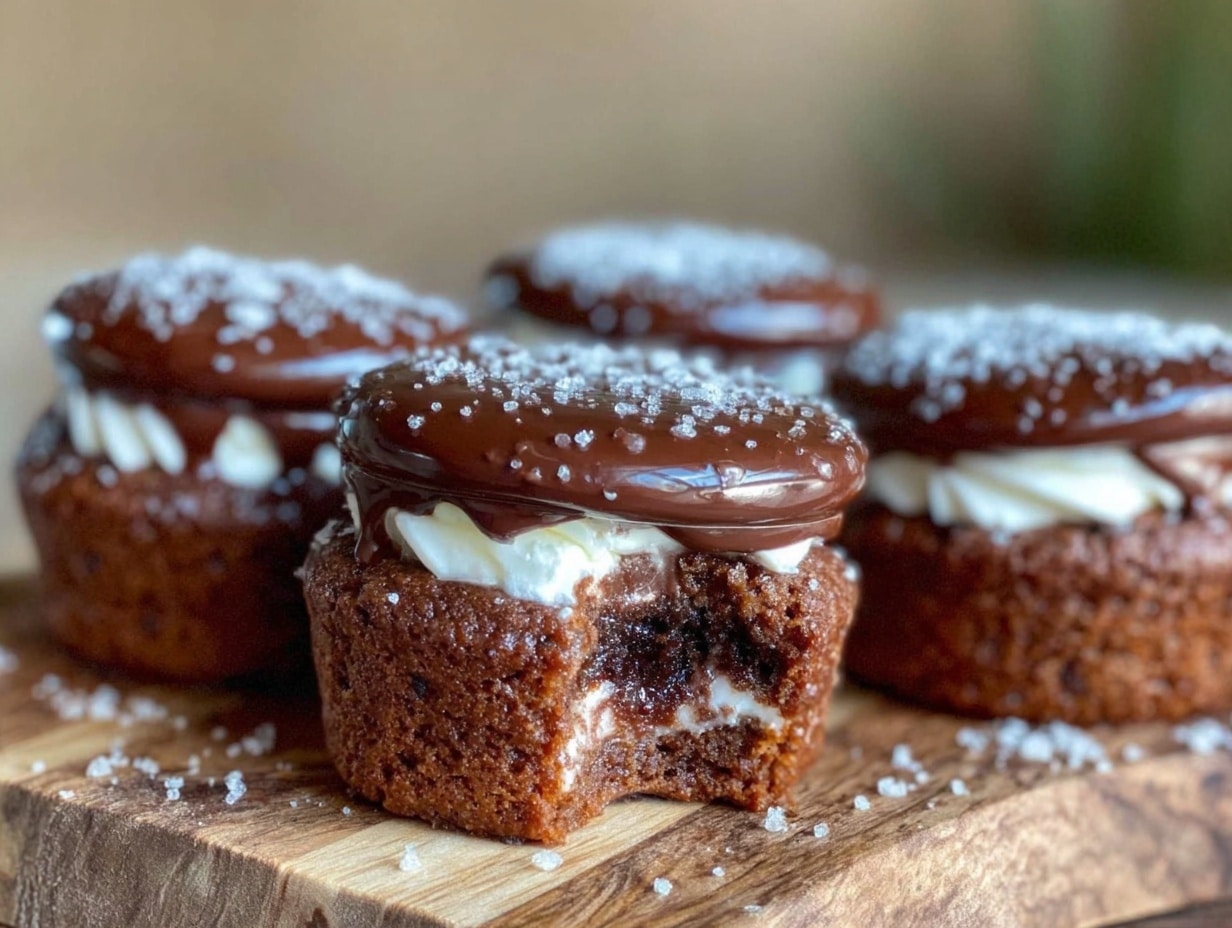
“You seriously have to try these,” my coworker whispered across the break room table, sliding me a cupcake that looked like it had been plucked straight from a bakery shelf. I eyed it skeptically — homemade Hostess cupcakes? I’d always thought those were strictly store-bought delights, the kind you grabbed for a quick sugar fix at the gas station. But one bite of that pillowy cake with its luscious, creamy filling changed my mind forever. Honestly, I didn’t think I could recreate that iconic texture and flavor at home, but this recipe proved me wrong over and over again.
It all started with a random Sunday afternoon when I was craving something sweet but didn’t want to mess with complicated baking. I found myself experimenting with a few pantry staples and, let me tell you, that first batch was so good I made them three times that week. The soft, tender cake wraps around a smooth, dreamy filling that’s just the right kind of sweet without being overpowering. Plus, the glossy chocolate glaze on top? Chef’s kiss.
What stuck with me most is how this little treat brings people together. Whether it’s a casual potluck or just a quiet moment with a cup of coffee, these cupcakes feel like a warm hug. They’re not fancy or intimidating, just simple, nostalgic, and totally irresistible. I think that’s why this homemade Hostess cupcakes recipe has landed a permanent spot in my baking rotation — it’s comfort food with a creamy twist that I know I can rely on when I want a little joy in cupcake form.
Why You’ll Love This Recipe
After countless trials and a few kitchen mishaps (like accidentally over-mixing the batter or curdling the filling), this homemade Hostess cupcakes recipe came out shining every time. I’m confident you’ll love it because it:
- Quick & Easy: Comes together in about 45 minutes total, making it perfect for busy weeknights or spontaneous dessert cravings.
- Simple Ingredients: Uses pantry staples like all-purpose flour, cocoa powder, and basic dairy ingredients — no hunting for anything exotic required.
- Perfect for Any Occasion: Ideal for birthday parties, potlucks, or just a cozy night in with a sweet tooth.
- Crowd-Pleaser: Kids and adults alike can’t get enough — the creamy filling is always a hit.
- Unbelievably Delicious: The texture is spot-on: moist cake, silky filling, and a shiny chocolate glaze that sets the whole thing off.
What sets this apart from other homemade Hostess cupcakes you might find floating around the internet? The filling here is whipped to a light, pillow-soft consistency, making it feel more luxurious than the usual buttercream. Plus, the chocolate topping is tempered just enough to give you that gentle snap without cracking your teeth. Honestly, it’s those little details — like folding the filling gently and using Dutch-processed cocoa powder — that make this recipe the best version you’ll try.
This isn’t just a cupcake; it’s the kind of treat that makes you pause and savor that sweet moment, the kind you want to share but maybe don’t want to give away entirely. It’s a little nostalgic, a little fancy, and absolutely worth the effort.
What Ingredients You Will Need
This recipe keeps things straightforward with ingredients you probably have on hand, but they all play specific roles to get that perfect cupcake texture and creamy filling. Here’s what you’ll gather:
- For the Cupcakes:
- All-purpose flour (2 cups / 250g) – provides structure
- Cocoa powder, unsweetened (3/4 cup / 75g) – I recommend Dutch-processed for richer flavor
- Baking powder (1 1/2 tsp) and baking soda (1 tsp) – for lift and lightness
- Salt (1/2 tsp) – balances sweetness
- Granulated sugar (1 1/4 cups / 250g) – the main sweetener
- Unsalted butter (1/2 cup / 115g), melted – adds moisture and richness
- Large eggs (2), room temperature – for binding and texture
- Buttermilk (1 cup / 240ml), room temperature – keeps the cake tender and adds tang
- Vanilla extract (2 tsp) – adds warmth and depth
- For the Creamy Filling:
- Unsalted butter (1/2 cup / 115g), softened – for richness
- Powdered sugar (1 1/2 cups / 180g), sifted – for smooth sweetness
- Vanilla extract (1 1/2 tsp) – classic flavor boost
- Marshmallow fluff (3/4 cup / 180g) – the secret to that iconic fluffy texture
- Heavy cream (2 tbsp / 30ml) – to lighten the filling
- For the Chocolate Glaze:
- Semisweet chocolate chips (1 cup / 180g) – I like Ghirardelli for a glossy finish
- Vegetable oil (2 tbsp / 30ml) – gives the glaze that smooth sheen
If you want to swap things up, you can use almond flour (for a gluten-free twist) or a dairy-free butter and coconut cream to make the filling vegan-friendly, but the texture will differ slightly. Also, fresh buttermilk is best, but if you don’t have it, just mix 1 cup of milk with 1 tbsp of lemon juice and let it sit for 5 minutes.
Equipment Needed
- Standard 12-cup muffin tin — you can also use silicone liners for easy clean-up
- Mixer (stand or hand) — essential for whipping the filling creamy and smooth
- Mixing bowls — at least two, one for batter and one for filling
- Spatula — flexible, for folding and scraping down the sides
- Small saucepan or microwave-safe bowl — for melting the chocolate glaze gently
- Piping bag or resealable plastic bag — for filling the cupcakes neatly
- Cooling rack — helps cupcakes cool evenly without getting soggy
If you don’t have a piping bag, a zip-top bag with a tiny corner snipped off works just fine. I’ve also found that a silicone muffin pan prevents sticking better than metal, especially when dealing with a sticky batter like this.
Preparation Method
- Preheat and prep: Set your oven to 350°F (175°C). Line your muffin tin with cupcake liners or grease it lightly. This takes about 10 minutes, including warming your ingredients to room temp if you haven’t already.
- Mix dry ingredients: In a medium bowl, sift together 2 cups (250g) all-purpose flour, 3/4 cup (75g) unsweetened cocoa powder, 1 1/2 tsp baking powder, 1 tsp baking soda, and 1/2 tsp salt. This ensures the cocoa blends smoothly and the cupcakes rise evenly.
- Combine wet ingredients: In a large bowl, whisk 1 1/4 cups (250g) granulated sugar with 1/2 cup (115g) melted unsalted butter until smooth. Add 2 large eggs one at a time, beating well after each. Stir in 1 cup (240ml) buttermilk and 2 tsp vanilla extract. The batter should smell rich and sweet, with no lumps.
- Bring it all together: Gradually add the dry ingredients to the wet, mixing gently until just combined. Don’t overmix — the batter should be thick but pourable, like slightly thick pancake batter. Overworking it will make the cupcakes dense.
- Fill cupcake liners: Spoon the batter into the prepared cups, filling about 2/3 full. This helps them rise nicely without overflowing. Bake for 18–22 minutes, or until a toothpick inserted comes out with moist crumbs but no wet batter.
- Cool completely: Transfer cupcakes to a wire rack and let cool for at least 30 minutes. Filling warm cupcakes will melt the cream and make a mess.
- Prepare the creamy filling: Beat 1/2 cup (115g) softened unsalted butter with 1 1/2 cups (180g) sifted powdered sugar until light and fluffy. Add 1 1/2 tsp vanilla extract and 3/4 cup (180g) marshmallow fluff. Mix in 2 tbsp (30ml) heavy cream to loosen the texture. The filling should be silky and hold soft peaks.
- Fill the cupcakes: Using a piping bag or a zip-top bag with a small hole, inject the filling into the center of each cupcake. To make a hole, use a small knife or cake corer to remove a bit of cake from the top, then pipe in the filling until it starts to push out slightly.
- Make the chocolate glaze: Melt 1 cup (180g) semisweet chocolate chips with 2 tbsp (30ml) vegetable oil in a small saucepan over low heat or in 30-second bursts in the microwave, stirring often. The glaze should be smooth and shiny.
- Glaze the cupcakes: Dip the top of each filled cupcake into the chocolate glaze or spoon some over the top. Let them set at room temperature or chill briefly (10–15 minutes) until the glaze firms up but isn’t rock hard.
These steps take a bit of practice to get the filling just right without making a mess, but trust me, once you nail it, it’s so satisfying. If your glaze thickens too much, just gently rewarm it before dipping.
Cooking Tips & Techniques
One of the trickiest parts about homemade Hostess cupcakes is getting that creamy filling just perfect. Here’s what I’ve learned:
- Don’t skip room temperature ingredients. Eggs and buttermilk at room temp blend more smoothly and yield a better crumb.
- Be gentle when mixing batter. Overmixing develops gluten and toughens the cupcakes — fold just until combined.
- Whip the filling well. Using a stand mixer or hand mixer on medium-high speed helps get that fluffy texture.
- Inject filling carefully. A piping bag with a narrow tip works best to avoid tearing the cupcakes.
- For a glossy glaze, add oil. The vegetable oil thins the chocolate and gives it that signature sheen without dullness.
- Timing matters. Bake cupcakes fresh but fill and glaze them once fully cooled to keep everything neat.
My first attempt had a filling that was too stiff and a glaze that cracked instantly — lesson learned! Also, multitasking by preparing the filling while cupcakes bake saves time. And if you want a little extra flair, dust a pinch of flaky sea salt over the glaze before it sets — it makes all the flavors pop.
Variations & Adaptations
If you want to mix things up or cater to different tastes, here are some fun twists I’ve tried or recommend:
- Peanut Butter Swirl: Fold 1/4 cup creamy peanut butter into the filling for a nutty surprise.
- Mocha Magic: Add 1 tsp instant espresso powder to the batter and a splash of coffee extract to the filling for a coffee lover’s dream.
- Berry Delight: Mix 1/4 cup finely chopped freeze-dried strawberries into the filling for a tart contrast.
- Gluten-Free: Swap all-purpose flour for a 1:1 gluten-free baking blend. The texture is a bit different but still delicious.
- Dairy-Free: Use vegan butter, coconut cream, and dairy-free chocolate chips to make the cupcakes suitable for dairy-free diets.
One of my favorite personal variations is the mocha twist — the coffee notes balance the sweetness perfectly and pair well with a cup of strong black coffee or even a creamy garlic chicken Alfredo pasta night (you might enjoy my creamy garlic chicken alfredo pasta recipe for that cozy dinner vibe). This combo always impresses guests without feeling over the top.
Serving & Storage Suggestions
These cupcakes are best served slightly chilled or at room temperature — the filling is soft but stable, and the glaze won’t be sticky or melty. They make a lovely centerpiece for birthday parties or afternoon tea, especially paired with a tall glass of cold milk or a rich espresso.
Store leftover cupcakes in an airtight container in the refrigerator for up to 4 days. The flavors actually deepen overnight, so they’re perfect if you want to bake a day ahead. To serve, let them sit out for 15 minutes to take the chill off.
If you want to freeze them, wrap each cupcake individually in plastic wrap, then place them in a freezer-safe container or bag. Thaw overnight in the fridge before serving. Avoid freezing after glazing to keep the chocolate looking its best.
For a quick refresh, warm the cupcakes for 10 seconds in the microwave to soften the cake without melting the filling or glaze. This trick works well if you want that freshly-baked feel on a chilly day.
Nutritional Information & Benefits
Each homemade Hostess cupcake contains approximately 320 calories, with about 15 grams of fat, 45 grams of carbohydrates, and 3 grams of protein. While these are definitely a treat, the use of real butter and pure cocoa powder means you’re getting real ingredients rather than artificial additives.
Cocoa powder offers antioxidants, and the marshmallow fluff, while sugary, is light and airy compared to heavier frostings. Using buttermilk adds a subtle tang and tender crumb without extra fat.
This recipe is naturally gluten-containing but can easily be adapted for gluten-free diets. It’s perfect for those who want an indulgent homemade treat without the preservatives found in store-bought cupcakes.
Conclusion
Homemade Hostess cupcakes with creamy filling are one of those sweet projects that pay off every time. They’re approachable enough for beginners yet yield bakery-worthy results that bring smiles all around. The balance of moist chocolate cake, light fluffy filling, and glossy chocolate topping hits that nostalgic sweet spot but with a fresh homemade touch.
Feel free to tweak the filling flavors or try the mocha version I mentioned — that keeps things interesting! This recipe has quickly become one of my go-to desserts when I want something special without fuss.
If you give these cupcakes a try, I’d love to hear how you customize them or which variations you prefer. Sharing recipes with friends and family, like these cupcakes, is what makes home baking so rewarding — and honestly, once you try making these, you might never want the store-bought kind again.
FAQs About Homemade Hostess Cupcakes
Can I make the cupcakes ahead of time?
Yes! You can bake and fill the cupcakes up to two days in advance. Store them in the refrigerator in an airtight container and bring them to room temperature before serving.
What’s the best way to fill the cupcakes without making a mess?
Use a piping bag with a narrow tip or a zip-top bag with a small corner cut off. Core out a small hole in the cupcake center, then gently pipe in the filling until it’s slightly visible.
Can I freeze these cupcakes?
Absolutely. Wrap each cupcake tightly in plastic wrap and freeze in a sealed container. Thaw overnight in the fridge before serving.
How do I get a shiny chocolate glaze?
Melting semisweet chocolate chips with vegetable oil gives the glaze a smooth and glossy finish. Avoid overheating the chocolate to prevent dullness.
Are there any good recipes to serve alongside these cupcakes?
They pair wonderfully with a comforting bowl of creamy comfort stracciatella soup or a rich creamy garlic chicken Alfredo pasta for a decadent meal followed by dessert.
Pin This Recipe!
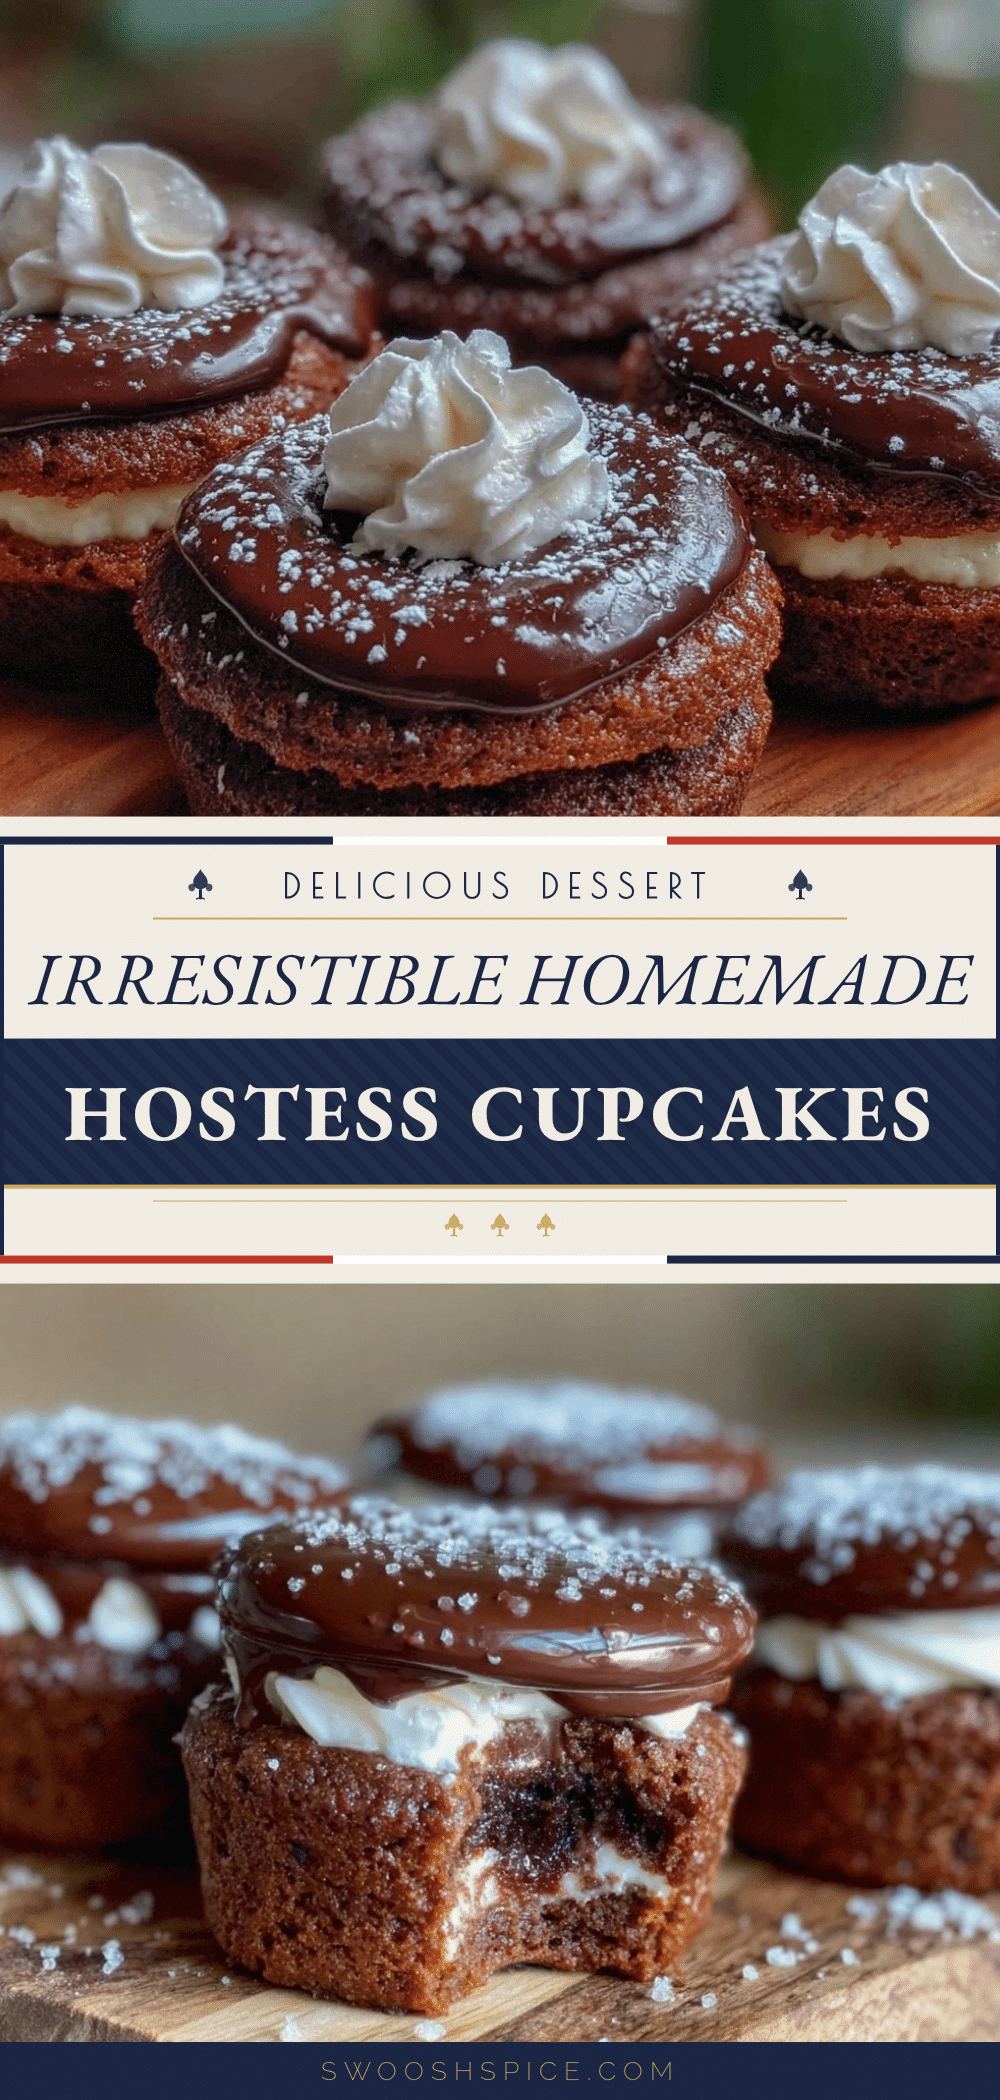
Homemade Hostess Cupcakes Recipe Easy Creamy Filling Tutorial
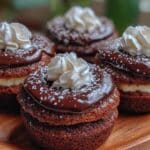
These homemade Hostess cupcakes feature a moist chocolate cake, a light and creamy marshmallow filling, and a glossy chocolate glaze, perfect for any occasion and easy to make with pantry staples.
- Prep Time: 15 minutes
- Cook Time: 22 minutes
- Total Time: 45 minutes
- Yield: 12 servings 1x
- Category: Dessert
- Cuisine: American
Ingredients
- 2 cups (250g) all-purpose flour
- 3/4 cup (75g) unsweetened cocoa powder (Dutch-processed recommended)
- 1 1/2 tsp baking powder
- 1 tsp baking soda
- 1/2 tsp salt
- 1 1/4 cups (250g) granulated sugar
- 1/2 cup (115g) unsalted butter, melted
- 2 large eggs, room temperature
- 1 cup (240ml) buttermilk, room temperature
- 2 tsp vanilla extract
- 1/2 cup (115g) unsalted butter, softened (for filling)
- 1 1/2 cups (180g) powdered sugar, sifted (for filling)
- 1 1/2 tsp vanilla extract (for filling)
- 3/4 cup (180g) marshmallow fluff
- 2 tbsp (30ml) heavy cream
- 1 cup (180g) semisweet chocolate chips
- 2 tbsp (30ml) vegetable oil
Instructions
- Preheat oven to 350°F (175°C). Line a 12-cup muffin tin with cupcake liners or grease lightly.
- In a medium bowl, sift together flour, cocoa powder, baking powder, baking soda, and salt.
- In a large bowl, whisk granulated sugar with melted butter until smooth. Add eggs one at a time, beating well after each.
- Stir in buttermilk and vanilla extract until the batter is smooth and lump-free.
- Gradually add dry ingredients to wet ingredients, mixing gently until just combined. Do not overmix.
- Spoon batter into cupcake liners, filling about 2/3 full.
- Bake for 18–22 minutes or until a toothpick inserted comes out with moist crumbs but no wet batter.
- Cool cupcakes completely on a wire rack for at least 30 minutes.
- For the filling, beat softened butter with powdered sugar until light and fluffy. Add vanilla extract and marshmallow fluff, then mix in heavy cream until silky and soft peaks form.
- Core out a small hole in the center of each cupcake using a knife or cake corer. Using a piping bag or zip-top bag with a small hole, fill each cupcake with the creamy filling.
- For the glaze, melt semisweet chocolate chips with vegetable oil over low heat or in 30-second microwave bursts, stirring frequently until smooth and shiny.
- Dip the top of each filled cupcake into the chocolate glaze or spoon glaze over the top. Let set at room temperature or chill briefly until glaze firms but is not hard.
Notes
Use room temperature eggs and buttermilk for better texture. Avoid overmixing the batter to keep cupcakes tender. Whip the filling well for a light, fluffy texture. Use vegetable oil in the glaze for a glossy finish. Fill cupcakes only after they are completely cooled to prevent melting the filling. Variations include adding peanut butter to filling, espresso powder to batter, or using gluten-free/dairy-free substitutes.
Nutrition
- Serving Size: 1 cupcake
- Calories: 320
- Sugar: 30
- Sodium: 180
- Fat: 15
- Saturated Fat: 8
- Carbohydrates: 45
- Fiber: 3
- Protein: 3
Keywords: Hostess cupcakes, homemade cupcakes, chocolate cupcakes, creamy filling, marshmallow filling, chocolate glaze, easy dessert, nostalgic dessert